
With the growth of virtualization, several vendors are now creating easy-to -deploy virtual appliances utilizing the open virtualization format template (OVF template), which are distributed as an OVA package. In the past, these templates could easily be deployed utilizing the VMware vSphere Desktop Client. With the release of ESXi 5.5, VMware has been making a large push to utilize the web client.
This article explains how to deploy an OVF Template in VMware via the vSphere Web Client. The template being deployed is vCloud Networking and Security Manager, specifically for the deployment of vShield Endpoint in a VMware Horizon View environment.
This article is part of a series explaining how to deploy vShield with Symantec Endpoint Protection for VMware Horizon View.
- How To Deploy OVA / OVF Template Using VMware vSphere Client
- VMware vSphere Web Client
- How to Configure VMware vShield Manager and vShield Endpoint
- Deploying vShield with the Symantec Security Virtual Appliance
- Exporting a Policy from Symantec Endpoint Protection Manager
- Configuring a SEPM Policy for vShield and Symantec SVA
- How to install EPSEC Drivers for vShield
Deploy an OVF Template
Note: The current version vCenter in the example below is version 5.5.
First, navigate to your web client. By default this will be: https://
Right-click on the vCenter server, highlight All vCenter Actions and click on Deploy OVF Template.

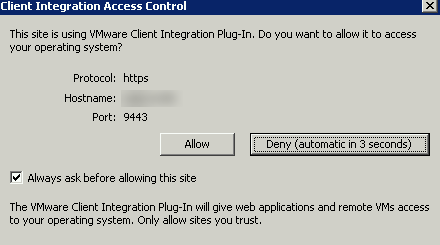
If this is the first time running the VMware Client Integration Plug-In, the following window will appear. Click Allow.
The next window will prompt you to select your OVA file. In my case, I have already downloaded theVMware vShield Manager 5.5.2 Build 1912200 OVA and have selected the local file on my machine.

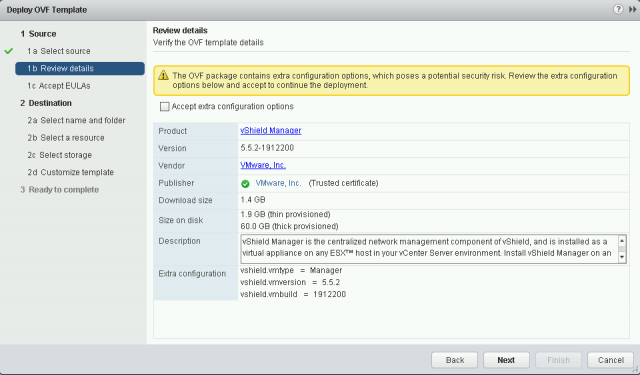
The next window will provide some details to be reviewed. As shown in the screenshot, if there are “extra configurable options,” VMware will prompt the following text:
“The OVF package contains extra configuration options, which possess a potential security risk. Review the extra configuration options below and accept to continue the deployment.”
Accept extra configuration options must be checked to proceed to the next window.
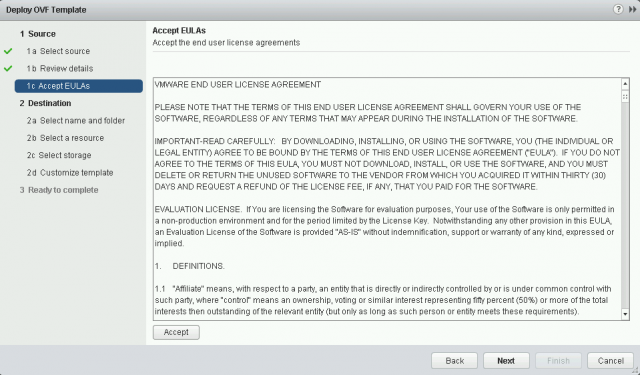
The next window will display the EULA. You must click Accept before clicking Next to proceed.
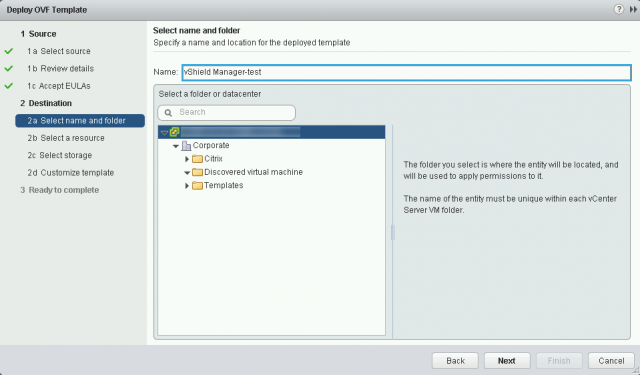
On the next screen, you will be prompted to select a VMware folder and to name the virtual machine.
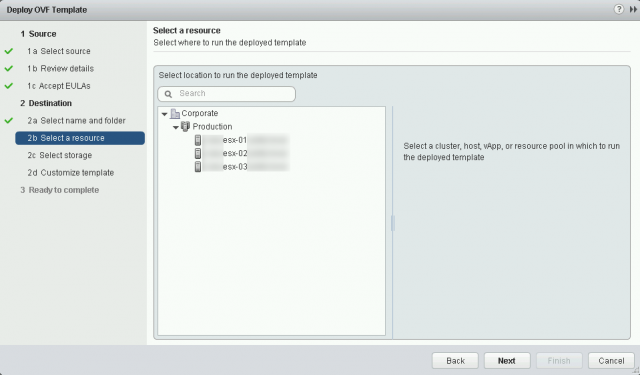
Next, select an ESXi host.
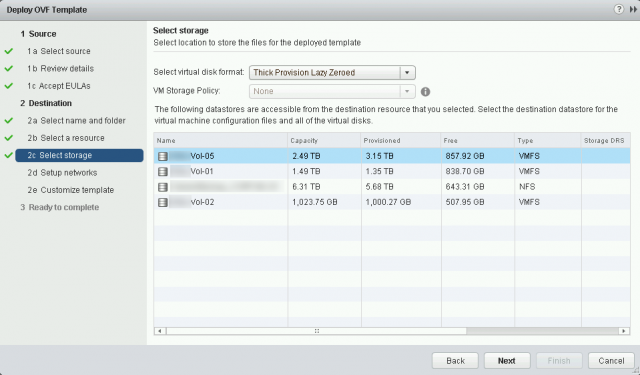
Next, select both the virtual disk format and the volume for deployment.
Select a network to manage the virtual appliance.

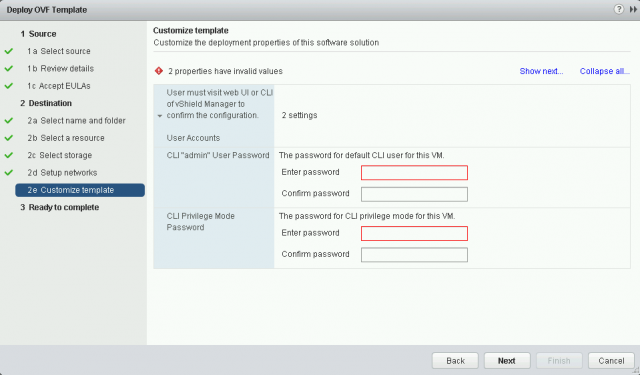
The Customize Template window is unique to this particular template. Depending on the virtual appliance being deployed, additional options may be requested. With this particular version of vShield Manager, a prompt will appear to configure the default CLI “admin” User Password and the defaultCLI Privilege Mode Password. If the passwords do not match, you will be prompted that the values are invalid.
In older versions of vShield Manager, credentials will be:
Username: admin
Password: default
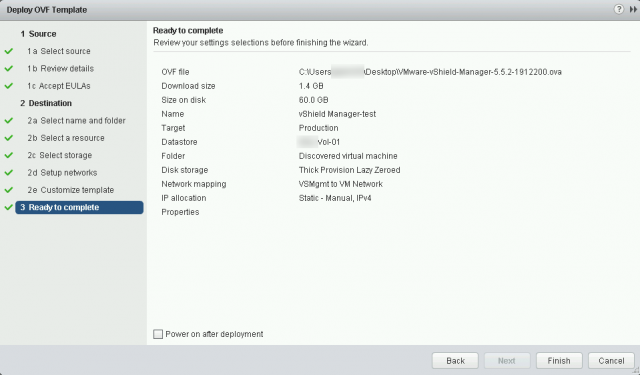
The Deploy OVF Template window will summarize all options selected for deployment. Click Finish to begin the deployment of the virtual appliance.
After the deployment has completed, vShield Manager can be configured. See the How to Configure VMware vShield Manager and vShield Endpoint article for additional details.
Source(s) Used:
Open Virtualization Format. http://en.wikipedia.org/wiki/Open_Virtualization_Format. Accessed August 1, 2014.