
This article details the specific settings within the ShoreTel Server, SMTP Server and Office 365 portal for creating mail distribution groups for ShoreTel voicemails to be sent to Office 365 mailboxes.
In ShoreTel
Under Voice Mail – Options, set your email account:
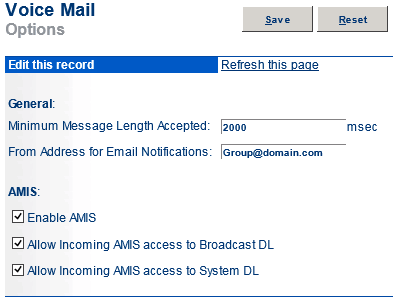
Set User Account in ShoreTel
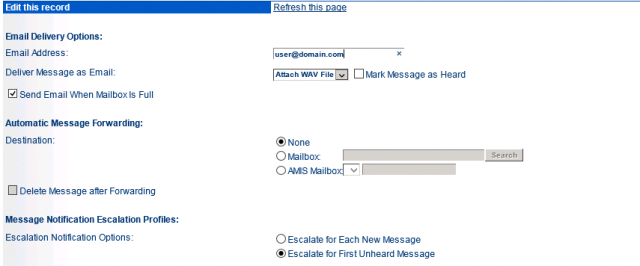
Under Escalation Profiles and Other Mailbox Options, change settings to following:
Setup SMTP Relay
You must install and configure IIS on your phone server prior to doing this:
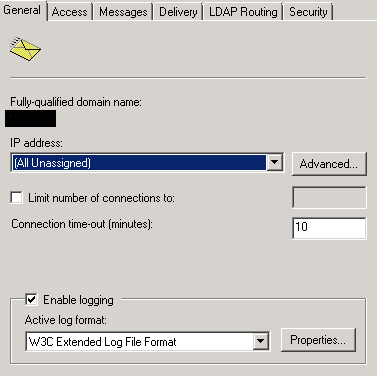
On your phone server, open IIS Manager and create a new SMTP Virtual Server to point to Office 365.
On General Tab:
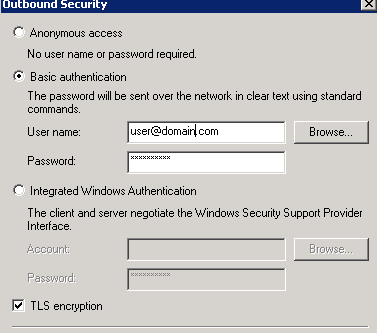
(Button)Outbound Security: IMAGE3
Note: Leave Advanced tab as default.
On Access Tab:
(Button)Authentication: Set to Default Anonymous access.
(Button)Connection: Set to all except list below and leave blank.
(Button)Relay: Set to all except list below and leave blank and check the Allow all box.
On Messages Tab:
Leave all default or set to your desired settings for your preferences.
On Delivery Tab:
Leave all default or set to desired settings for your preferences.
(Button)Outbound Security:
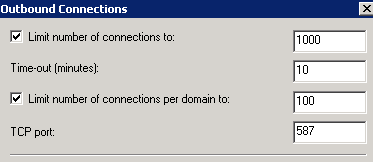
(Button)Outbound Connections:
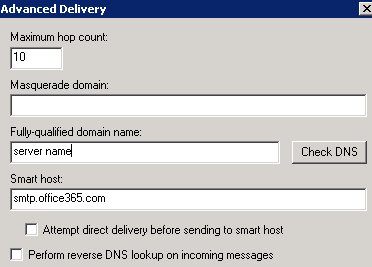
(Button)Advanced:
Note: LDAP and Security tabs can be left default.
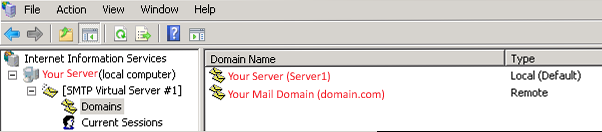
On the SMTP main window, you must setup a remote domain for the mail domain you are connecting to:
- Right-click on Domains and select New-Domain. This will launch a wizard.
- Select Remote and Next.
- Enter the name of your Office 365 domain (ex: domain.com).
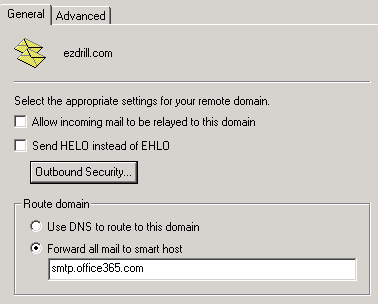
- Right-click on your domain name and select Properties.
- Select Forward all mail to smart host and enter the same Office 365 SMTP Server you entered above as your smart host: smtp.office365.com.
- Click on Outbound Security and configure the same as the authentication for your Outbound Security on the SMTP Virtual Server. Select Basic authentication and enter the username and password that is used to send e-mail to the external server (Office 365). The user name must be a fully-qualified, (same as IMAGE3) valid Office 365 user licensed for Exchange. Check TLS encryption.
When complete, your SMTP Relay should look like the following:
On the Office 365 Portal:
You must go to the following site in order to grant permissions, ownership and send on behalf settings:
https://outlook.office365.com/ecp/@yourdomain.com
You must log in with a user account that retains administrator privileges on the Office 365 Portal.
***Special Note:*** It is possible to edit permissions via the Office 365 command shell, but we will leave that to another blog. You will most likely encounter permission errors if you are a company that manages multiple partners within your partner portal. It does not allow you to set permissions or send on behalf permissions for a group through your partner management portal. You must use the admin login specific for the company/domain.
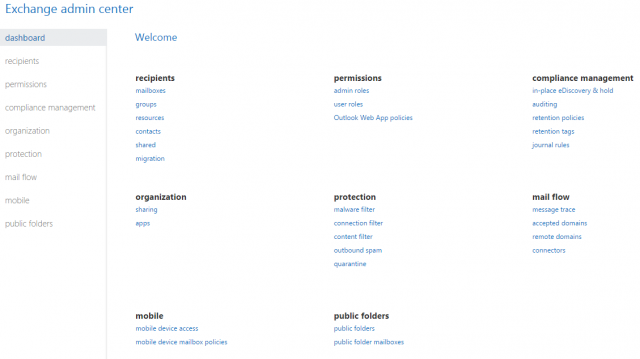
This is the portal page you will see:
Click Groups and the group manager box will load.
Click the + and select a security group.
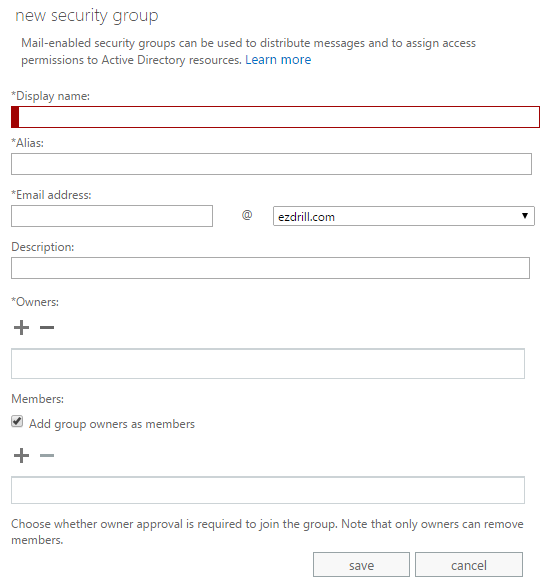
- Give your security group a name and email address that you wish to be displayed on sent emails from the ShoreTel system.
- Give ownership to the admin account that you logged into the portal with.
- Add any members in the portal that will have a ShoreTel voicemail box.
- Click Save, select the group you have made and click the pencil icon to edit settings further.
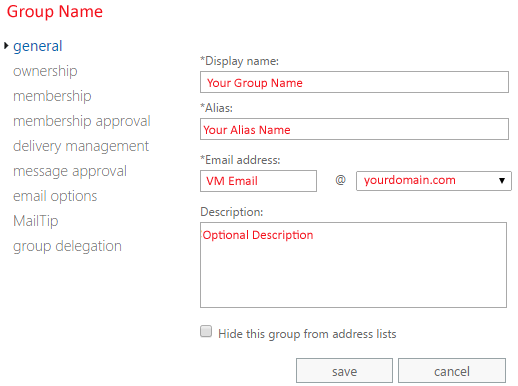
Per your specific entity needs, you can set Ownership, Membership, Membership Approval, Delivery Management, Message Approval and MailTip as you wish:
On the Group Delegation Section:
- Be sure and add your group name in the Send As permissions.
- Be sure and add your account with administrator privileges to the Send on Behalf permissions.
Upon completion, you should be able to call a ShoreTel extension and leave a voicemail. The voicemail should arrive in the user’s inbox with attached .wav file of the received message.
Troubleshooting:
- Verify all steps above.
- Enable logging on the SMTP Virtual Server properties / General tab / click Enable logging.
- In the Active log format: Select W3C Extended Log File Format.
- Choose Properties and select Hourly and notate the location of the log files folder to reference.
- On the Advanced tab, select ALL logging options so that everything appears in the logs to assist with troubleshooting.
- Check the inetpub folder on the root of C: for additional log reference.
- C:inetpubmailroot will reference logs in the Queue folder and Badmail folder.
Article References:
http://www.configureoffice365.com/configure-office-365-smtp-relay/
http://kerntechnology.com/2013/11/30/stmp-relay-office-365-shoretel/
http://technet.microsoft.com/en-us/library/dn554323(v=exchg.150).aspx