Datto has a number of options for a bare metal restore. The most obvious options are listed when you go to start a bare metal restore from the Datto Web UI, USB or PXE. The following is a step-by-step guide on how to perform a volume specific bare metal restore using the ShadowProtect Recovery ISO. A number of Datto support techs that we have spoken with recommend this method because it can be faster. However, their documentation in the academy and support site are missing some key steps. This guide will fill in those gaps and help you restore an entire volume from start to finish. Before you attempt this process, read the entire guide. It can be complicated the first time you attempt it.
Here’s a list of the resources you’ll need:
- Download raw drivers for NIC and Storage. For Dell products: http://poweredgec.com/latest_poweredge-12g.html
- Alternatively, download the latest Open Manage Deployment Toolkit listed under Systems Management for your server model.
For example, T320: http://poweredgec.com/latest_poweredge-12g.html#T320 – Systems Management – Dell OpenManage Deployment Toolkit (Windows) v4.4 - Download and burn the latest StorageCraft ShadowProtect Recovery ISO (5.0.4 at the time of this writing): http://updates.dattobackup.com/supportFiles/ShadowProtect/ShadowProtect_…
Create a ShadowProtect Backup and Share on Datto
I’ll walk through how to create a ShadowProtect backup image from the backup you want to restore from and how to share it on the built-in Datto NAS storage. Here are the steps:
1. Click Advanced > Network Attached Storage.
2. Create a new share named something like ShadowProtect.
3. Make it public for easy mode or make your life hard by securing it with a username and password.
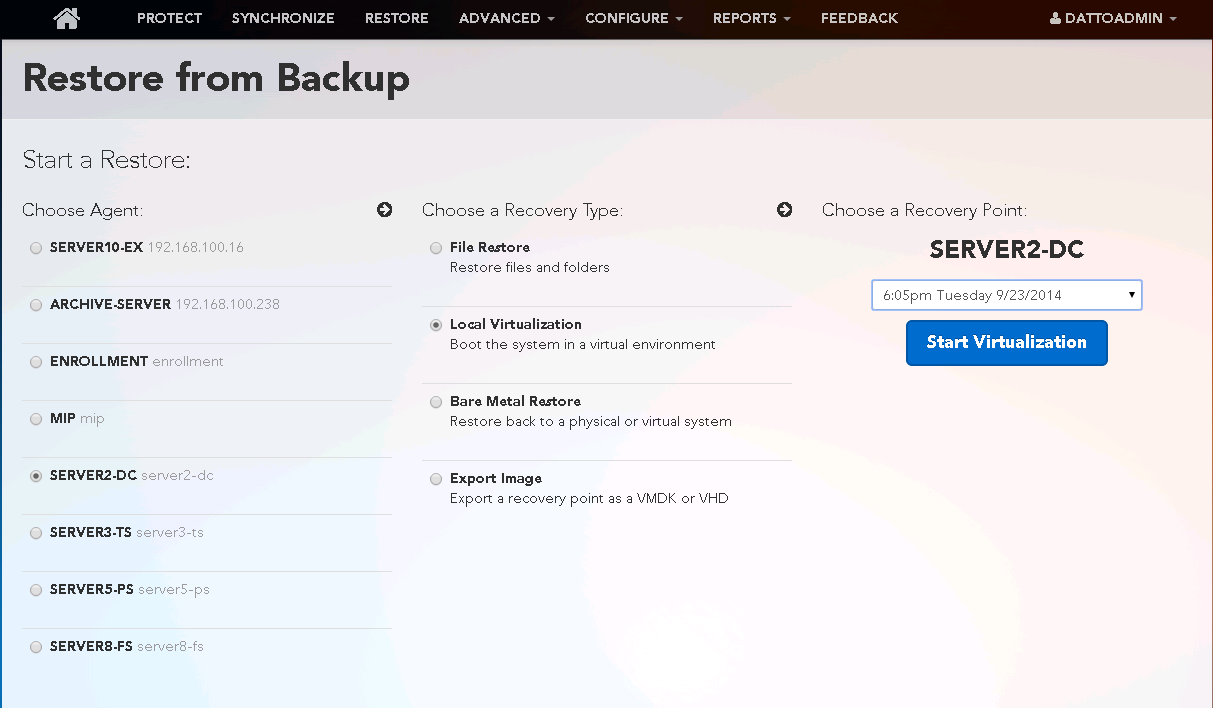
4. Click Restore in the main menu.
5. Select the server, Local Virtualization and recovery point. Then, click Start Virtualization:
6. Make sure the Network Options have Disconnected selected. Next, click Start VM. Note: Depending on the model and resources available, you may need to lower the resources assigned to the VM. This is perfectly fine.
7. As soon as the page refreshes, click Stop VM. When it refreshes again, you should see a red button that says Unmount VM. This indicates the VM is still mounted, which is what we want for an offline ShadowProtect backup.
8. Download VNC Viewer and use it to connect to the Datto’s IP address. Password: Northern.
9. Open VirtualBox and click on the server in the list that you previously mounted. This interface should feel similar to editing VMs in vSphere, HyperV, Xencenter, etc.
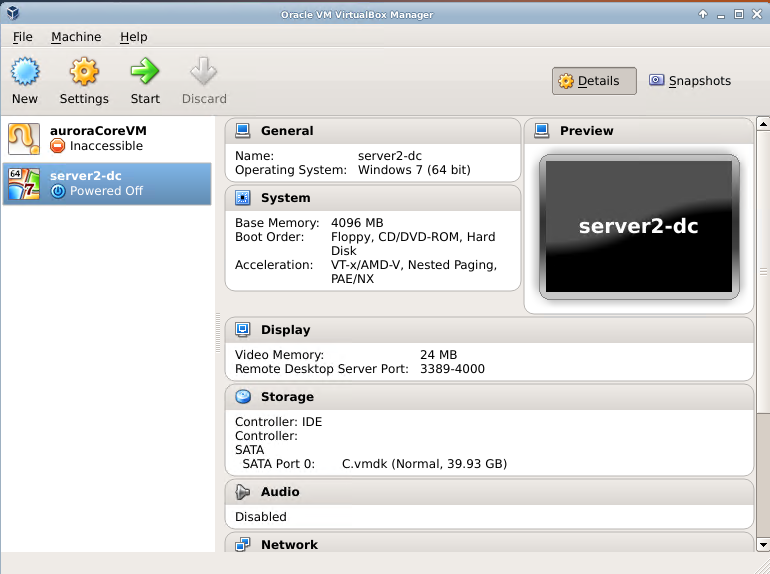
10. Right-click VM > Settings.
11. Click Storage then click Add CD/DVD device next to Controller: SATA:
![]()
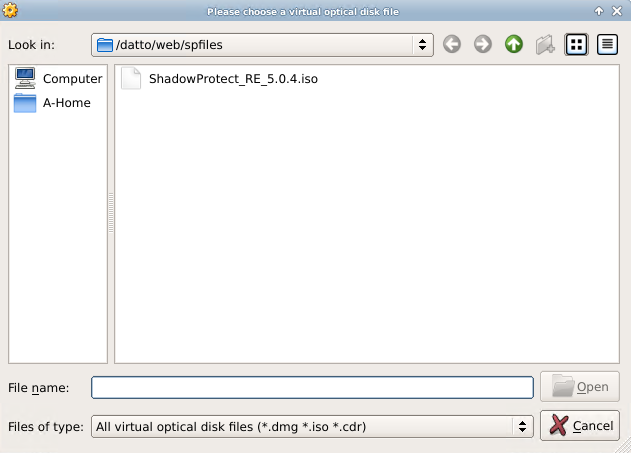
12. Click Choose Disk and browse to the ShadowProtect Recovery ISO. It should default to the correct location. If not, navigate to /datto/web/spfiles. If this does not exist, call Datto Tech Support. They will get the correct ISO loaded for you.
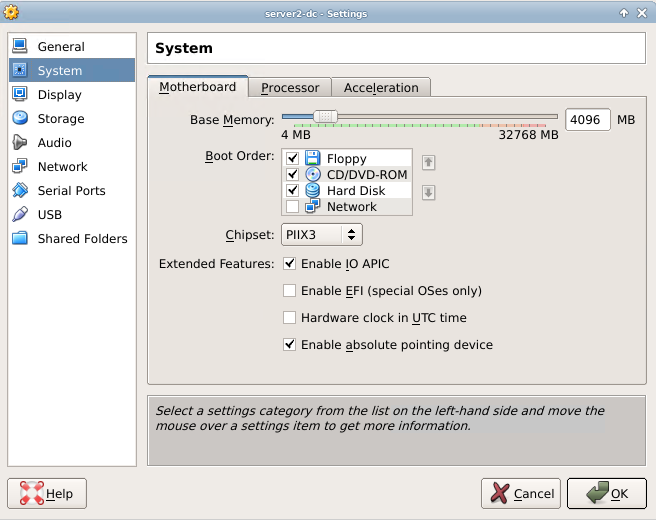
13. Click System and make sure CD/DVD-Rom is higher up in the boot order than Hard Disk.
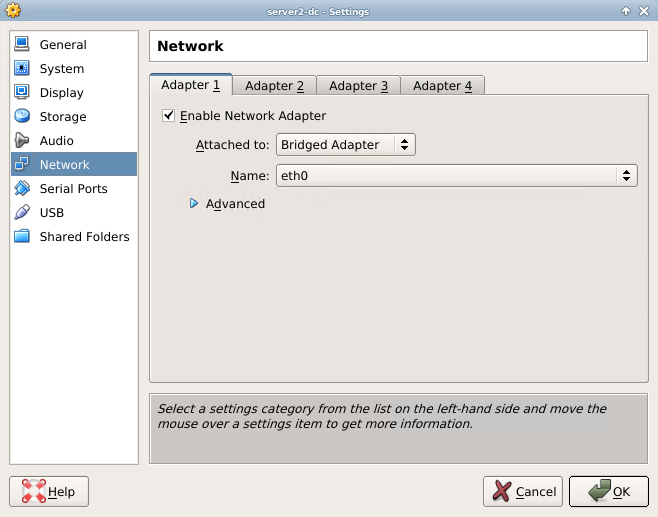
14. Click Network and make sure Enable Network Adapter is checked for Adapter 1. For the Attached to: option, select Bridged Adapter. Eth0 is fine for the name.
15. Click OK and Start the VM. Note: This will boot the VM directly into the ShadowProtect Recovery ISO. If the production machine is still running, this will not cause a conflict with it.
16. Make sure to hit the any key when prompted to start from the CD/DVD Media.
17. Select your language and click OK.
18. Start network support now? Select Yes. Time zone does not matter. Note: The network config will default to DHCP. If the server you are restoring is the DHCP server and it is currently down, you will need to configure a static IP in the network configuration.
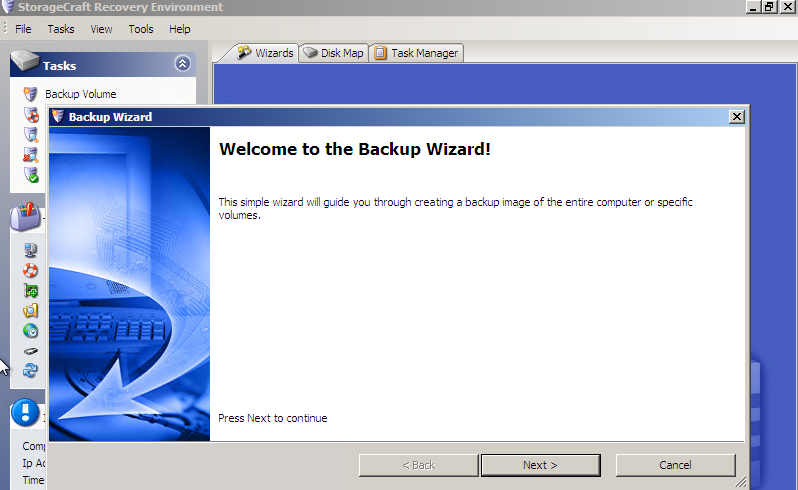
19. Once the ShadowProtect Recovery Environment loads, click Backup Volume and go through the Backup Wizard:
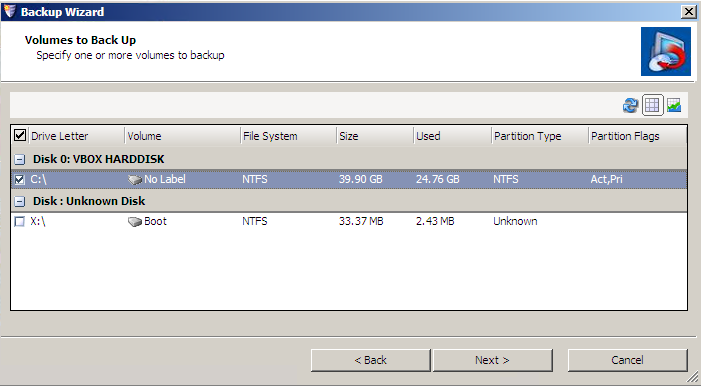
20. Check the disk(s) you want to backup for the restore and click Next. Note: X: is the disk that ShadowProtect creates in memory for the boot disk.
21. Select Perform a full backup and click Next.
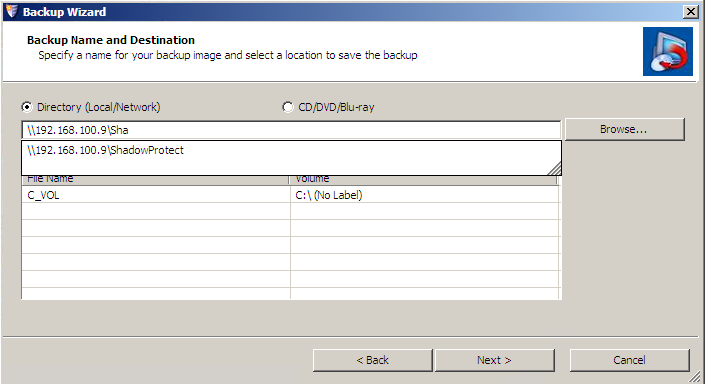
22. Type in the UNC path to the share what you created on the Datto. Example: 192.168.16.5ShadowProtect
Note: The file browser is intelligent and will help you autofill the share name.
23. You can leave the Options page at the defaults.
24. Click Finish to begin the backup.
25. After the backup completes, you can stop the VM. Make sure to unmount the VM in the Datto.
Restore Your Volume
Use the ShadowProtect Recovery ISO to restore your volume(s) on a physical server:
1. Boot into the ShadowProtect Recovery ISO on the physical server you’re restoring to.
2. Let it try to connect to the network. If it fails, you will need the drivers that you previously downloaded.
3. Click File Browser to verify ShadowProtect recognizes the drives.
4. If the boot disk is failing to recognize the NIC or the Local Storage, you will need to load the drivers. From another Windows device, extract and copy the files from the OpenManage Deployment Toolkit to a USB drive. In the ShadowProtect Recovery Environment, click Load Drivers and add the NIC and Storage drivers. The 5.0.4 disk will require the 32 bit drivers. For the T320, those drivers were located in this path: Dellx32Driverswinpe3.x. Other versions/models should have a similar directory structure. If you are unsure of which drivers you need, load them all.
5. Once NIC and Storage are recognized, you can begin the restore process.
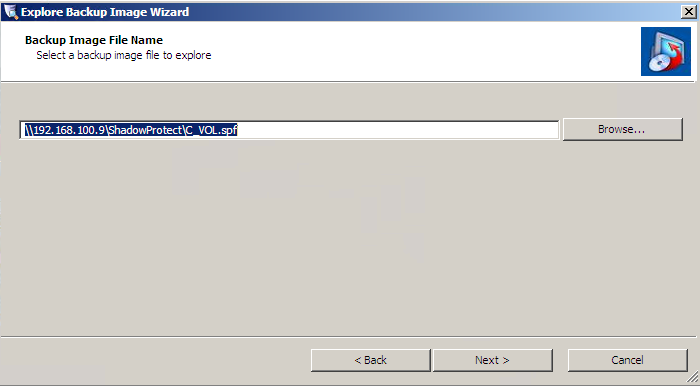
6. Click Explore Backup Image and mount the ShadowProtect backup you created previously in the .spf format:
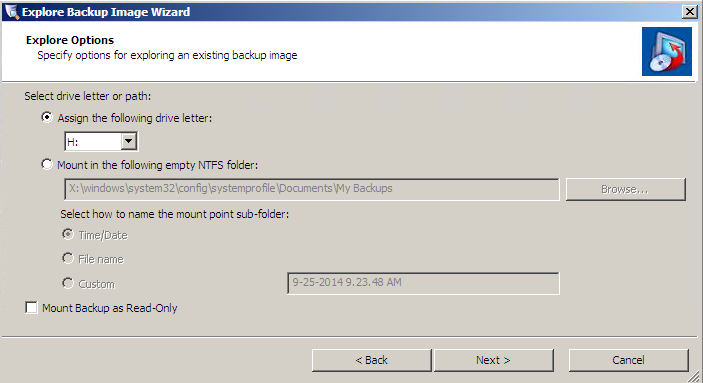
7. Assign a drive letter and uncheck Mount Backup as Read-Only. Click Next and Finish:
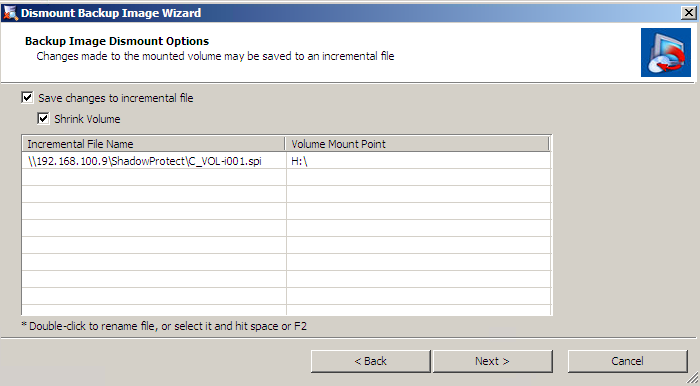
8. Close the File Browser and click Dismount Backup Image to shrink and unmount the disk you just mounted.
9. Check the volume you just mounted and click Next.
10. Check Save changes to incremental file and Shrink Volume. Click Next and Finish.
*** If you do not perform steps 6 – 10, the backup image will be too large for the partition you are trying to restore to. Known bug.
11. Click Restore Volume and go through the Wizard to restore:
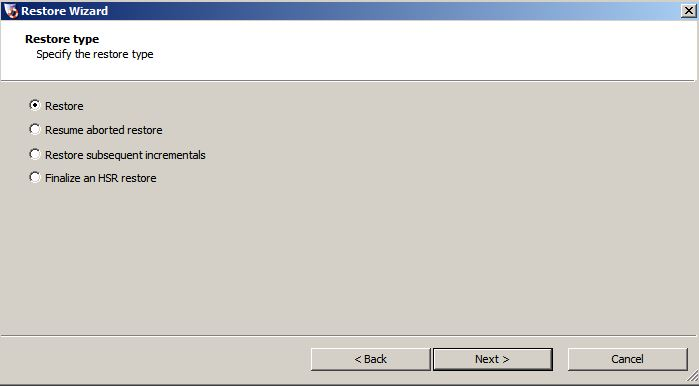
12. Select Restore:
13. Type in the UNC path to the spi file using the Datto appliance IP address, NOT a hostname. Example: 192.168.16.5ShadowProtectC_VOL-d001.spi. Alternatively, you can create a network mapping from the main window and assign it a drive letter. Use the Browse button to select it.
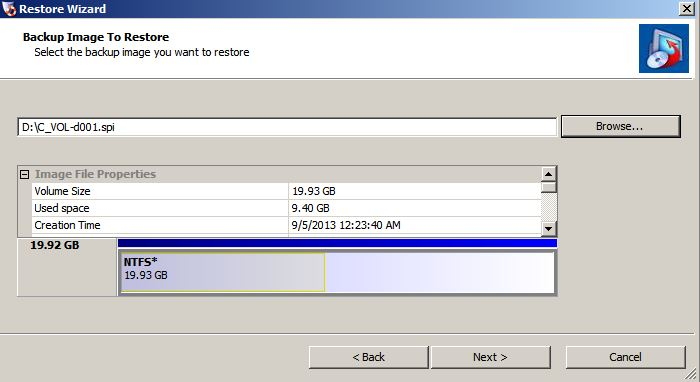
14. Verify the image to use. Click Next.
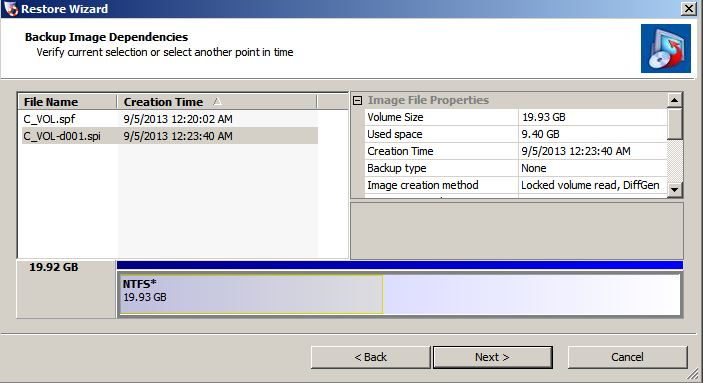
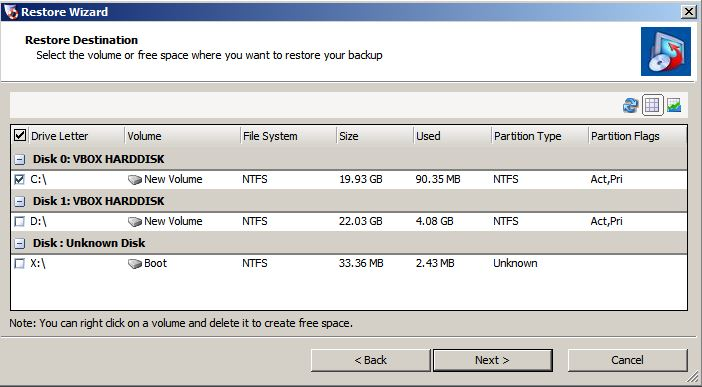
15. Select the Disk/Partition you will restore to.
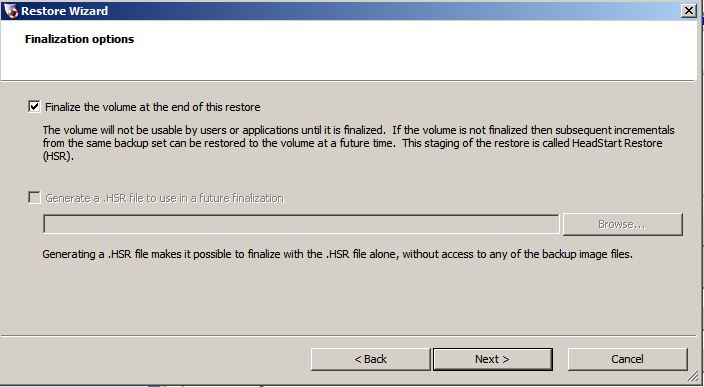
16. Check Finalize at the end of this restore:
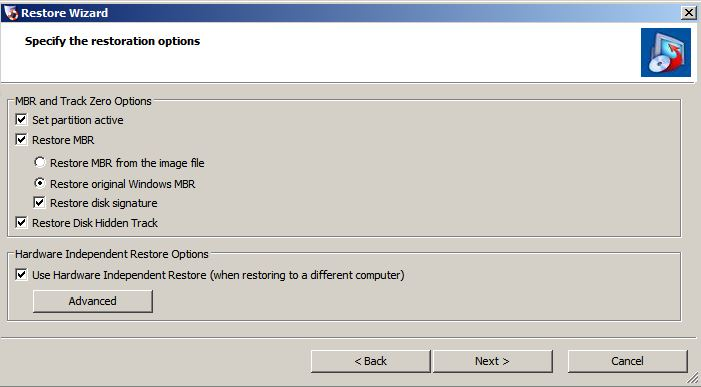
17. Select the appropriate options for the type of volume you are restoring:
- Set partition active – Use if this is the bootable OS Volume
- Restore MBR – Use if bootable OS Volume.
- Restore MBR from the image file – Use if you want to use the MBR from the backup image
- Restore MBR from original Windows MBR – Use if you want a fresh MBR (recommended)
- Restore Disk signature – Do this
- Restore Disk Hidden Track – Do this
- Use Hardware Independent Restore – Only do this if you are doing a bare metal restore to new hardware
18. Click Finish.
19. …
20. Profit!
21. Repeat as needed for each volume.
22. Click File > Exit and reboot when finished.
The Latest
-

PYD129 – Tableau Conference History with Dan Murray
23 April, 2024