Today, Veeam released Veeam Backup and Replication 8. This upgrade contains a vast number of new features, many of which can be viewed here.
This article provides a step by step guide for installing Veeam 8 from scratch.
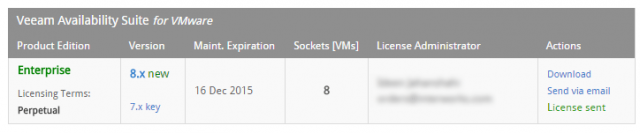
Veeam 8 and Downloading New License Keys
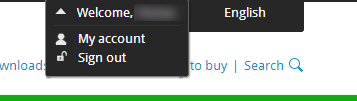
Similar to Veeam 7, Veeam 8 requires new license keys to be downloaded directly from their website. To acquire your organization’s keys, go to http://www.veeam.com, login with a licensed administrator, then click on My Account.
If you do not have access to your license but are a registered user for your organization, you will see a Send to License Administrator link on the far right of the licenses available to you. If you need to gain access to download your licenses, you will need to contact Veeam support to be verified as a license administrator.
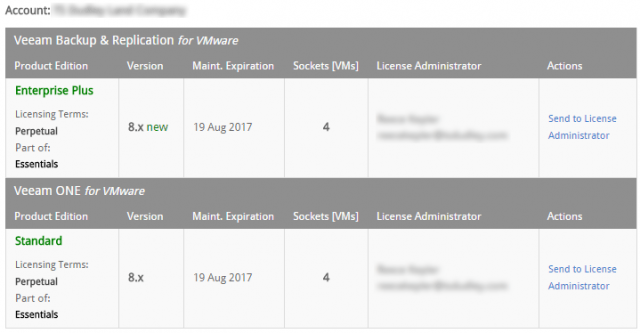
Alternatively, if you are a license administrator, you will have access to the Download button under your licenses.
Installing Veeam 8 Backup and Replication
Download Veeam 8 B&R
To download Veeam 8, visit http://www.veeam.com/downloads/ and download the Veeam Availability Suite.
Veeam 8 requirements are listed in the below links for both VMware and Hyper-V:
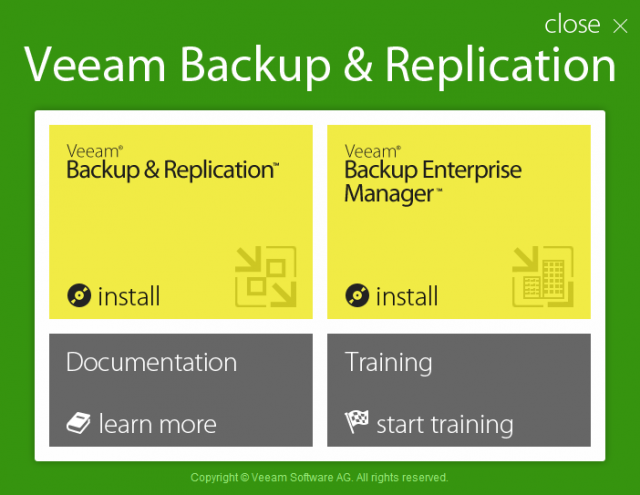
Running the Installer for Veeam 8 B&R
Similar to the Veeam 7 Backup and Replication install/upgrade, the install menu is built to be straightforward. Click on Veeam Backup & Replication to begin installing Veeam B&R 8.
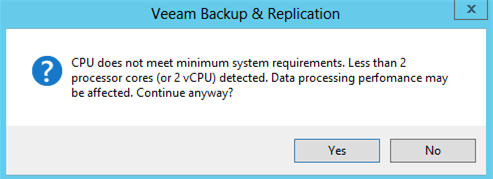
If your machine is under the minimum specifications required, you will be prompted to continue the install.
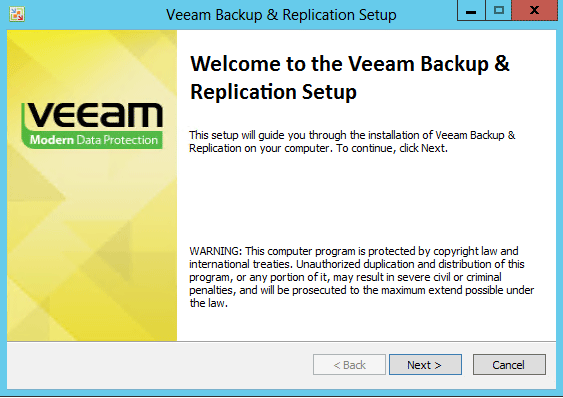
An introduction screen will then appear to install Veeam 8. Click Next to proceed.
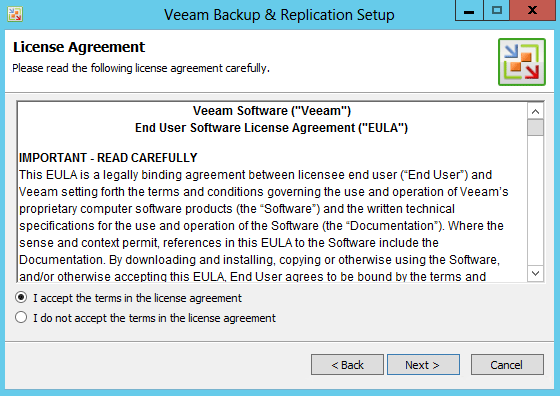
Next, the Veeam 8 EULA will appear. Click Next to proceed.
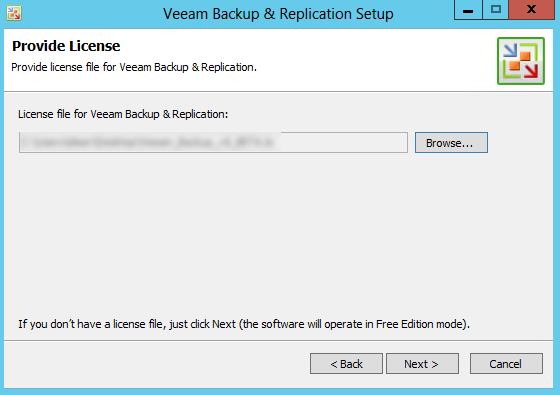
Next, upload your license file. If you have not acquired your license file yet, you can still install Veeam in the Free Edition Mode.
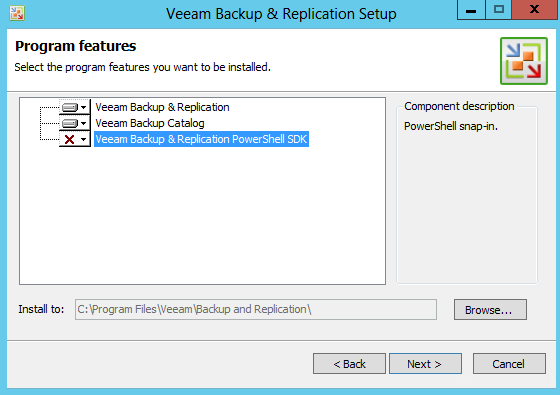
Select what features to install with Veeam 8. I typically install the Veeam Backup & Replication PowerShell SDK in the event that I may need to use it later.
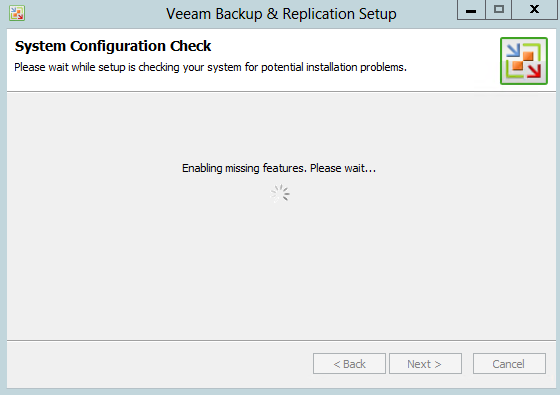
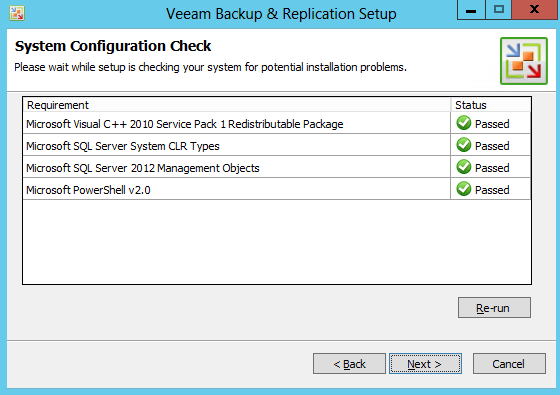
Veeam will perform a system configuration check. If components are missing off the OS, click Install and Veeam will begin installing all required features.
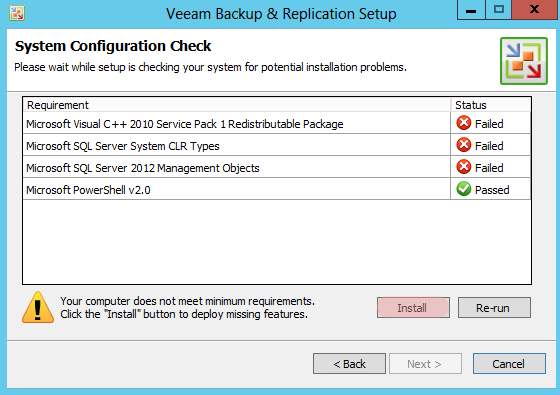
If new features need to be installed, a window will appear once Install has been clicked.
Once all components have been installed, everything should display as Passed. Click Next to proceed.
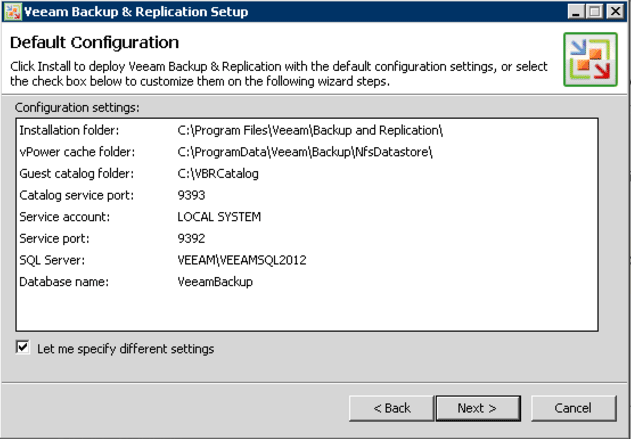
Next, you will be prompted with a summary of the installation. If Let se specify different settings checked, proceed to the next screenshot. If you are comfortable with the default settings, uncheck ‘Let se specify different settings’ and proceed to the screenshot below labeled Installing Veeam Backup and Replication.
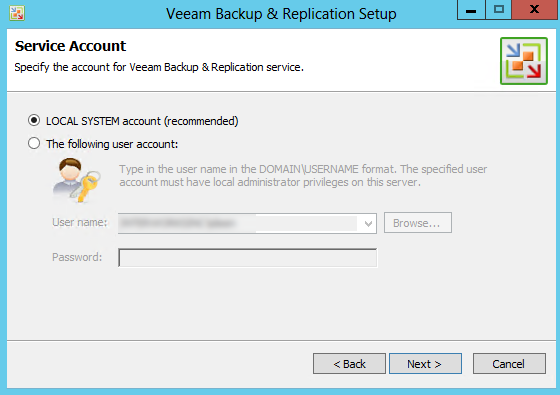
Next, you will be prompted to select a service account to run Veeam. If your organization requires that you utilize a domain user to install the program, now is a great opportunity to create a dedicated Veeam Service Account versus using the Domain Administrator.
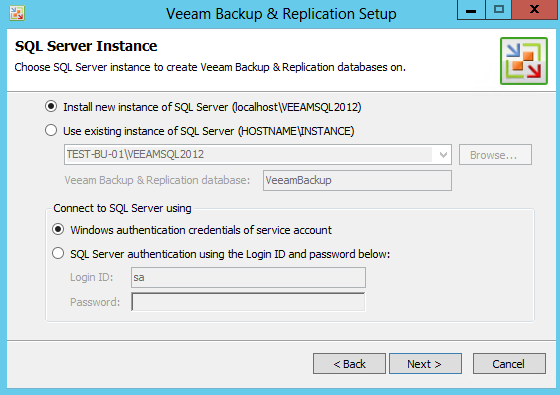
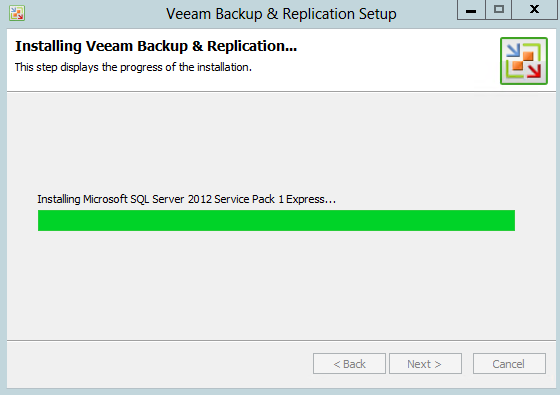
On the next menu, you will be promoted to install a SQL Server Instance. For SMB customers, a local SQL Express instance will most likely meet the needs of the organization. For larger enterprise class organizations, it is recommended to use a dedicated SQL Server.
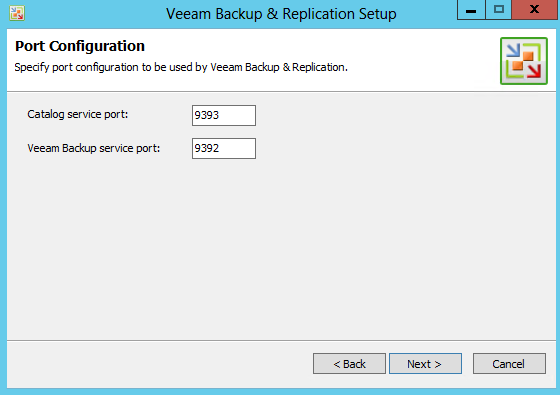
On the next screen, select the ports to use for the backup service and catalog service. The default ports are listed in the screenshot below:
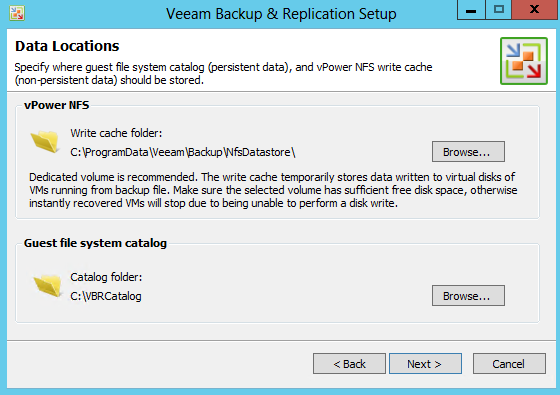
On the next menu, Veeam will display the location for the vPower NFS cache and guest file system catalog. Per the written text below, it is highly recommended that this not be located on the OS volume. If guest file catalog indexing is going to be utilized for backing up a file server, it is strongly suggested that the guest file system catalog be placed on a separate volume than the OS as there is high possibility that guest file system catalog will be very large.
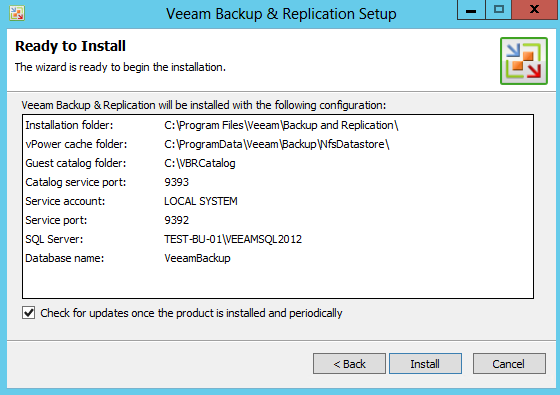
The next screen will display a summary of the install location. One of the new features added in Veeam 8 is the ability to check for updates once the product is installed and to periodically check for backups.
The install took about 15-30 minutes to complete.
Depending on what features were installed, Veeam 8 Backup and Replication may request to reboot the machine.
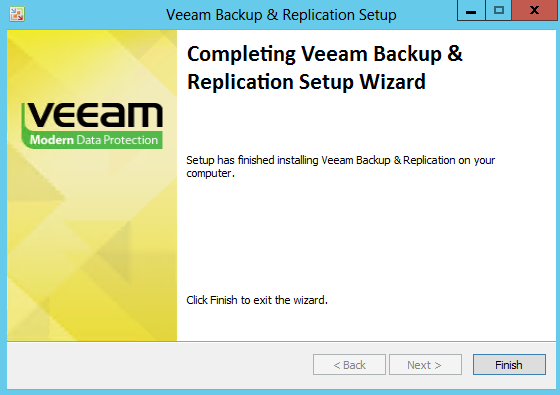
Quick Post-Reboot/Installation Introduction of Veeam 8
Once Veeam 8 has been opened, a new splash screen will appear. This will show the licensee and either the number of days on the evaluation or number of days left on the support agreement.
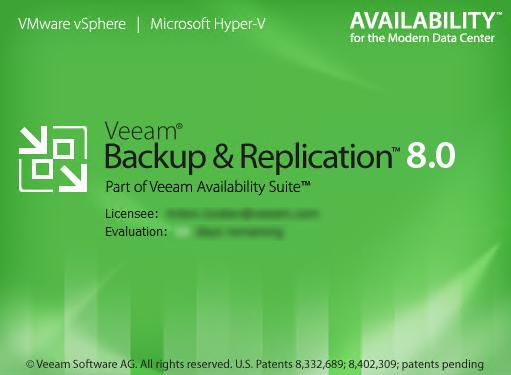
The GUI has also received a slight color theme change.
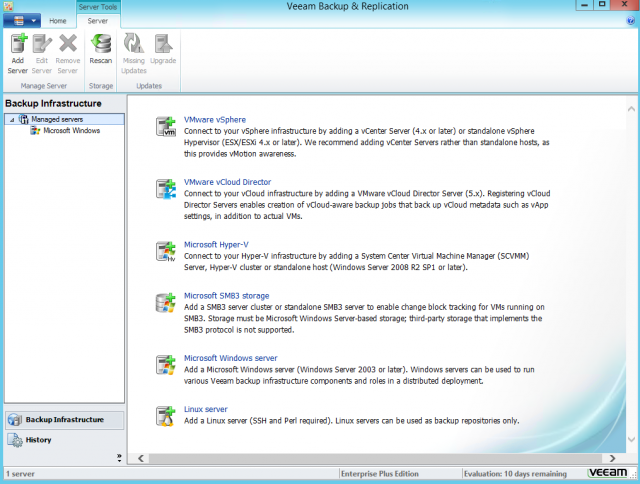
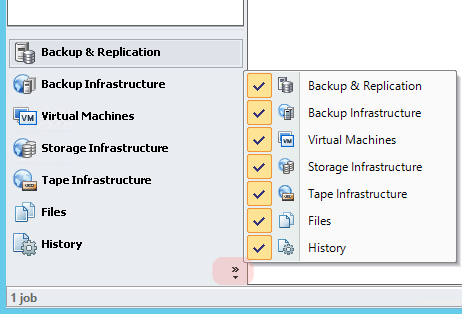
Additionally, the menu now has a pop-out menu style on the very button so administrators can select what features they would like to see on the splash screen.